Photo - Information - Chris Drymalik - Digital Camera
Home Page
Main Menu
General Information
Comrails Home Page
Whats New
Links to other rail sites
References & Bibliography
Author Information
Check Letter Calculation
Privacy Information
Library - Publications, Handbooks & Timetables
Library of Rail Publications Home Page
Timetables
Handbooks, Manuals and Documents
Miscellaneous Publications
Downloads
ComRails as Downloadable PDFs
ComRails Source Code (PPWIZARD format)
Photographs/Plans
Photos by Author/Collection
Photo Key Word In Context
Photo Submission/Readme
Plans of Rolling Stock
Plan by Class
Route/Track Information
Route Information by Track Name
Alphabetic List of Locations
Traffic Information Management System
TIMS Main Page
Group Information
Alpha Index
Numeric Index
Details Index
Route Information
Readme
Abbreviations & Glossary
Abbreviations & Glossary Home Page
Glossay A
Glossay B
Glossay C
Glossay D
Glossay F
Glossay G
Glossay I
Glossay J
Glossay K
Glossay L
Glossay M
Glossay N
Glossay O
Glossay P
Glossay Q
Glossay R
Glossay S
Glossay T
Glossay U
Glossay V
Glossay W
Locomotives
Commonwealth Railways
CR Loco Home Page
Narrow Steam
Narrow Diesel
Standard Steam
Standard Diesel
Classification Steam
Classification Diesel
Named Locos
Railcars
Miscellaneous Vehicles
Loco Classification
South Australian Railways
SAR Loco Home Page
Narrow Steam
Broad Steam
Diesel
Classification Steam
Classification Diesel
Named Locos
Railcars
Passenger & Brakes
Australian National Railways
AN Psg Home Page
Broad Gauge
Narrow Gauge
Standard Gauge
Classification
Type
Named carriages
Brake vans, Perway and Non-revenue
Overland cariages
Diesel railcars
Contracts
Consists and Refurbishments
Commonwealth Railways
CR Psg Home Page
Narrow Gauge
Standard Gauge
Classification
Type
Named carriages
Brake vans
Construction Train
Railcars
Contracts
Rollingstock Classification
Consists and Refurbishments
GSR/JBRE
GSR/JBRE Psg Home Page
Road Number
Classification
Type
Named carriages
South Australian Railways
SAR Psg Home Page
Named V&SAR cars
V&SAR Joint Stock
SAR&CR Joint Stock
Pullman cars
Steel Bodied cars
Wooden cars
"D" type cars
Narrow Gauge cars
Trailer cars
Diesel Railcars
Allocation Numbers
VR "E" cars
Private named cars
Freight
Freight Home Page
Narrow Gauge
Standard Gauge
Broad Gauge
Classification
Rollingstock Classification
Ungrouped
Vehicles by Intended Use
Operators
Australian National Railways
AN Passenger Home Page
Australian Rail Track Corp
ARTC Home Page
GSR/JBRE
GSR/JBRE Home Page
Commonwealth Railways
CR Locomotive Home Page
CR Passenger Home Page
South Australian Railways
SAR Locomotive Home Page
SAR Passenger Home Page
Master Indexes
Master Indexes Main Page
Vehicles by Classification
Vehicle Numeric List
Photo Key Word In Context
Plans by Class
Alphabetic List of Locations
Search
Pictures by Author/Collection
Chris Drymalik - Digital Camera
< Previous
1
2
3
4
5
6
7
8
9
10
11
12
13
14
15
16
17
18
Next >
Return to "Chris Drymalik - Digital Camera" Index
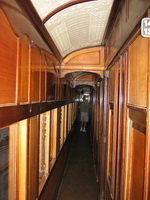
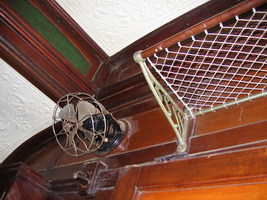
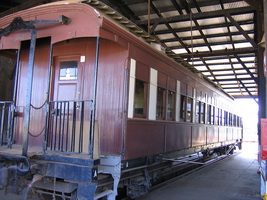
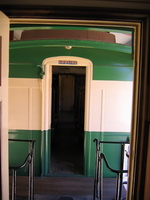
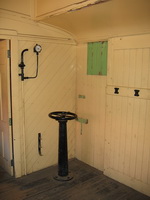
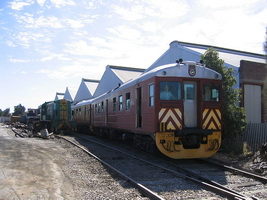
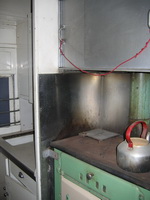
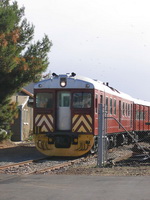
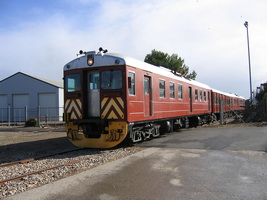
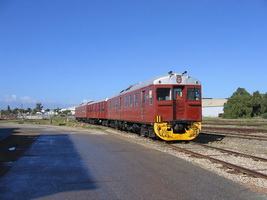
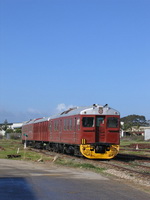
Peterborough - Steamtown - ARB 14 (cd_p1020365)
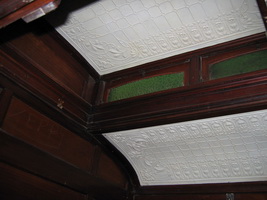
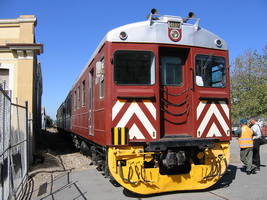
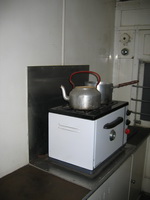
Peterborough - Steamtown - ARB 14 (cd_p1020366)
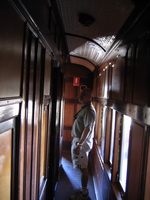
Peterborough - Steamtown - ARB 14 (cd_p1020367)
Peterborough - Steamtown - ARB 14 (cd_p1020368)
Peterborough - Steamtown - ARB 14 (cd_p1020369)
Peterborough - Steamtown - ARB 14 (cd_p1020370)
Peterborough - Steamtown - ARB 14 (cd_p1020371)
Peterborough - Steamtown - ARB 14 (cd_p1020373)
Peterborough - Steamtown - ARB 14 (cd_p1020374)
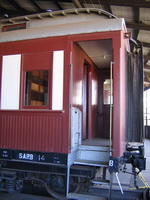
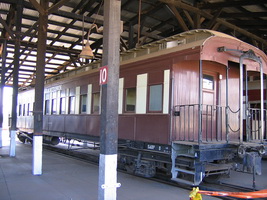
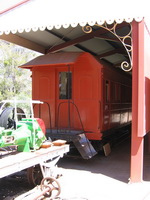
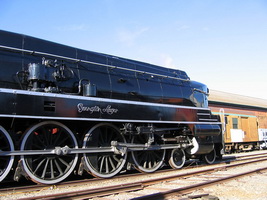
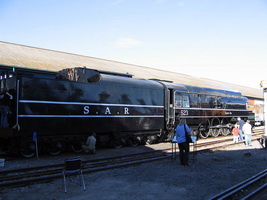
Peterborough - Steamtown - ABP 8 (cd_p1020375)
Peterborough - Steamtown - ABP 8 (cd_p1020376)
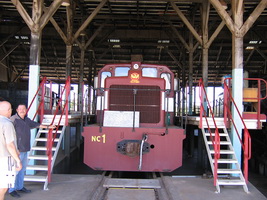
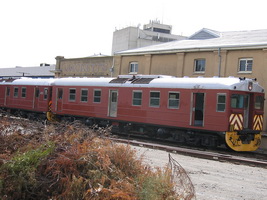
Peterborough - Steamtown - NC1 (cd_p1020388)
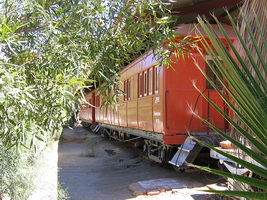
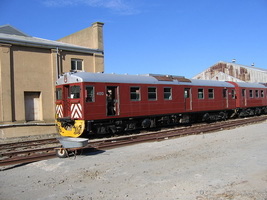
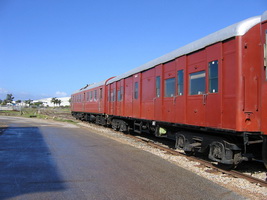
Broken Hill - Sulphide Street Rail Museum - Centenary cars 313 + 268 (cd_p1020433)
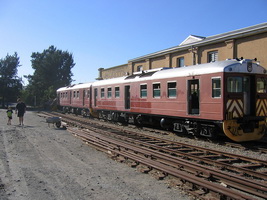
Broken Hill - Sulphide Street Rail Museum - Centenary cars 268 + 313 (cd_p1020443)
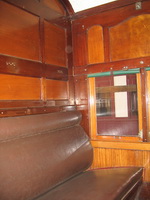
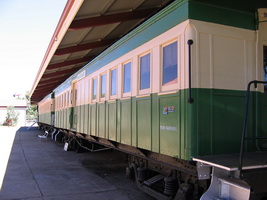
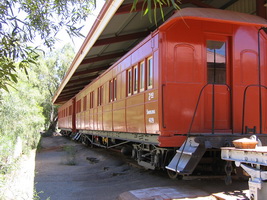
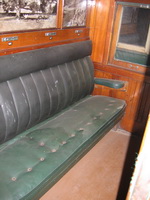
Broken Hill - Sulphide Street Rail Museum - Centenary car 313 (cd_p1020445)
Broken Hill - Sulphide Street Rail Museum - Centenary car 313 (cd_p1020446)
Broken Hill - Sulphide Street Rail Museum - Centenary car 313 (cd_p1020447)
Broken Hill - Sulphide Street Rail Museum - Centenary car 313 (cd_p1020448)
Broken Hill - Sulphide Street Rail Museum - Looking from Centenary car 313 towards car 268 (cd_p1020449)
Broken Hill - Sulphide Street Rail Museum - Centenary car 268 (cd_p1020450)
Broken Hill - Sulphide Street Rail Museum - Centenary car 268 (cd_p1020451)
Broken Hill - Sulphide Street Rail Museum - Centenary car 268 (cd_p1020452)
Broken Hill - Sulphide Street Rail Museum - Centenary car 268 (cd_p1020454)
Broken Hill - Sulphide Street Rail Museum - Centenary car 268 (cd_p1020455)
Broken Hill - Sulphide Street Rail Museum - Centenary car 268 (cd_p1020456)
Broken Hill - Sulphide Street Rail Museum - Centenary car 268 (cd_p1020457)
Broken Hill - Sulphide Street Rail Museum - Looking from Centenary car 268 towards car 313 (cd_p1020458)
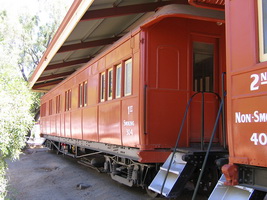
Broken Hill - Sulphide Street Rail Museum - car 409 (cd_p1020466)
Broken Hill - Sulphide Street Rail Museum - car 409 + 304 (cd_p1020467)
Broken Hill - Sulphide Street Rail Museum - car 409 + 304 (cd_p1020468)
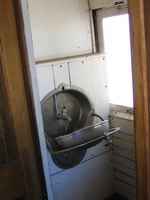
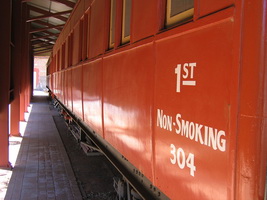
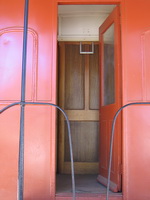
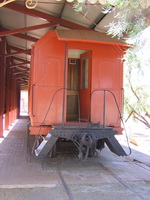
Broken Hill - Sulphide Street Rail Museum - car 304 (cd_p1020469)
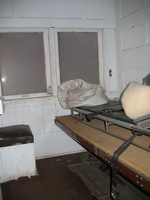
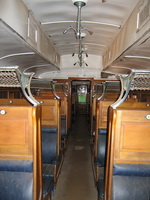
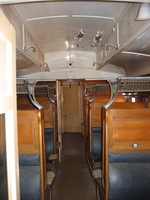
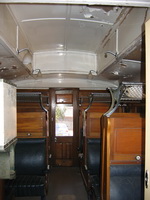
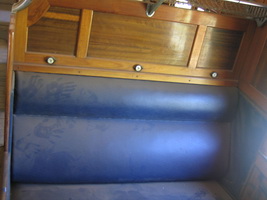
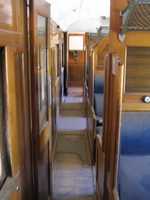
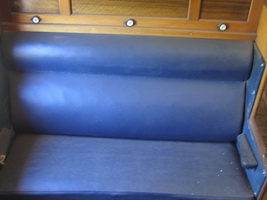
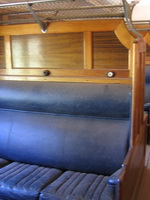
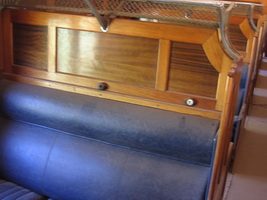
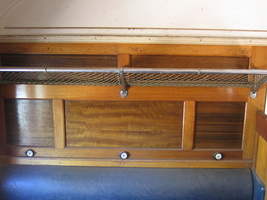
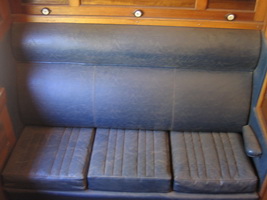
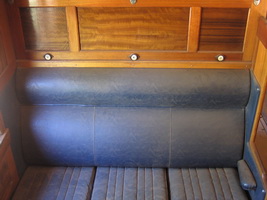
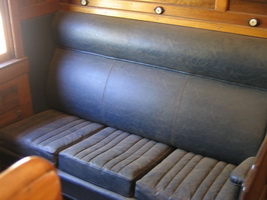
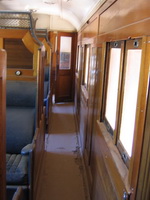
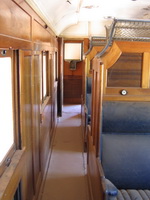
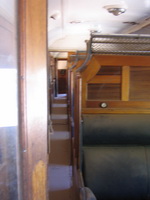
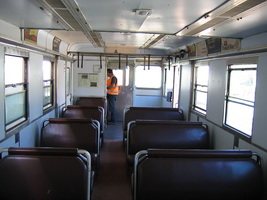
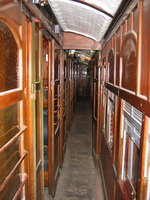
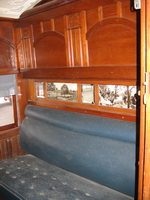
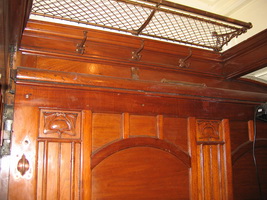
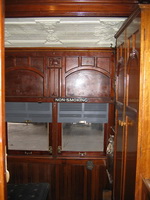
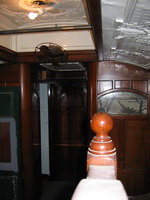
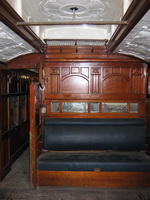
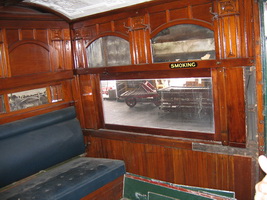
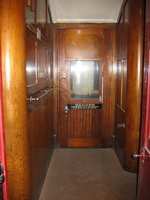
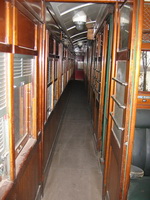
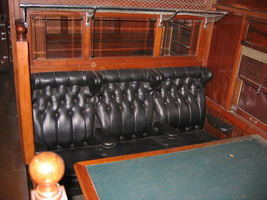
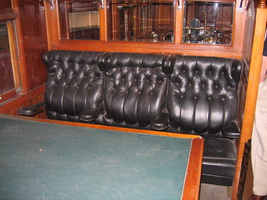
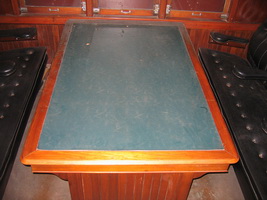
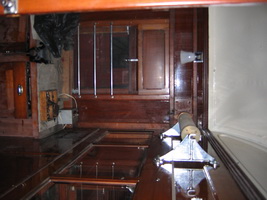
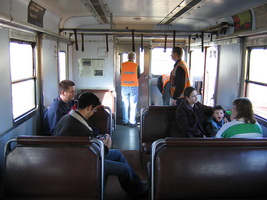
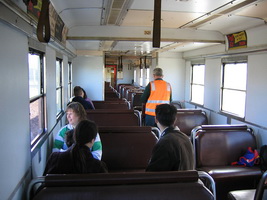
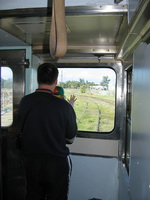
Broken Hill - Sulphide Street Rail Museum - car 409 interior (cd_p1020470)
Broken Hill - Sulphide Street Rail Museum - car 409 interior (cd_p1020471)
Broken Hill - Sulphide Street Rail Museum - car 409 interior (cd_p1020472)
Broken Hill - Sulphide Street Rail Museum - car 409 interior (cd_p1020473)
Broken Hill - Sulphide Street Rail Museum - car 409 interior (cd_p1020474)
Broken Hill - Sulphide Street Rail Museum - car 409 interior (cd_p1020475)
Broken Hill - Sulphide Street Rail Museum - car 409 interior (cd_p1020476)
Broken Hill - Sulphide Street Rail Museum - car 409 interior (cd_p1020477)
Broken Hill - Sulphide Street Rail Museum - car 409 interior (cd_p1020478)
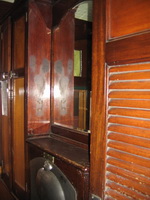
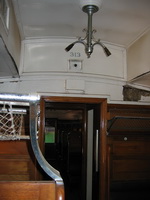
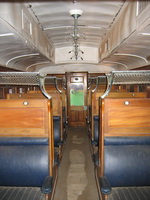
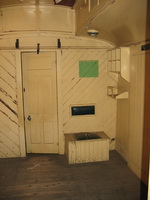
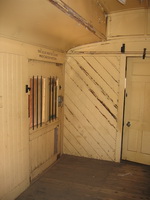
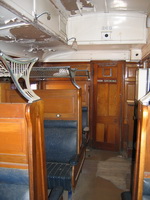
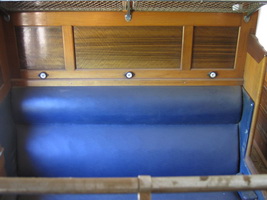
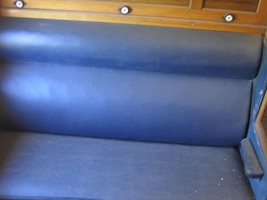
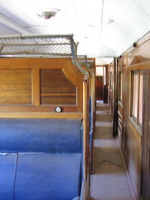
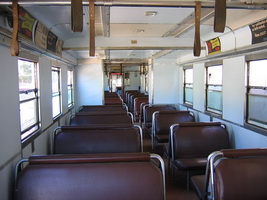
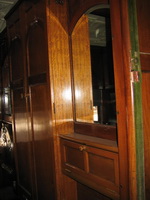
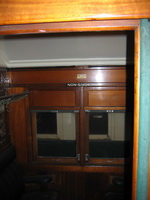
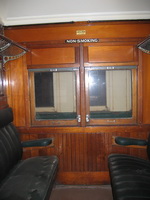
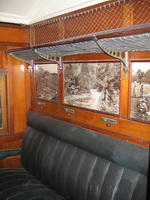
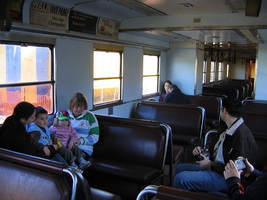
Broken Hill - Sulphide Street Rail Museum - car 304 interior (cd_p1020481)
Broken Hill - Sulphide Street Rail Museum - car 304 interior (cd_p1020482)
Broken Hill - Sulphide Street Rail Museum - car 304 interior (cd_p1020483)
Broken Hill - Sulphide Street Rail Museum - car 304 interior (cd_p1020484)
Broken Hill - Sulphide Street Rail Museum - car 304 interior (cd_p1020485)
Broken Hill - Sulphide Street Rail Museum - car 304 interior (cd_p1020486)
Broken Hill - Sulphide Street Rail Museum - car 304 interior (cd_p1020487)
Broken Hill - Sulphide Street Rail Museum - car 304 interior (cd_p1020488)
Broken Hill - Sulphide Street Rail Museum - car 304 interior (cd_p1020489)
Broken Hill - Sulphide Street Rail Museum - car 304 interior (cd_p1020490)
Broken Hill - Sulphide Street Rail Museum - car 304 interior (cd_p1020491)
Broken Hill - Sulphide Street Rail Museum - car 304 interior (cd_p1020492)
Broken Hill - Sulphide Street Rail Museum - car 304 interior (cd_p1020493)
Broken Hill - Sulphide Street Rail Museum - car 304 interior (cd_p1020494)
Broken Hill - Sulphide Street Rail Museum - car 304 (cd_p1020495)
Broken Hill - Sulphide Street Rail Museum - car 304 (cd_p1020496)
Broken Hill - Sulphide Street Rail Museum - car 304 (cd_p1020497)
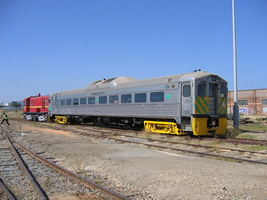
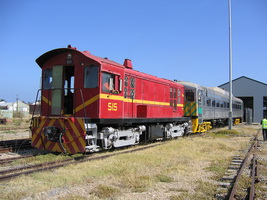
National Railway Museum - Port Adelaide - Shunt of budd car, with 515 (cd_p1020944)
National Railway Museum - Port Adelaide - Shunt of budd car, with 515 (cd_p1020947)
National Railway Museum - Port Adelaide - Shunt of budd car, with 515 (cd_p1020949)
National Railway Museum - Port Adelaide - Shunt of budd car, with 515 (cd_p1020950)
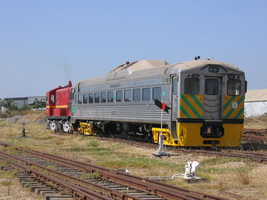
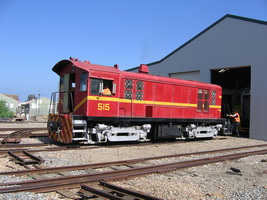
National Railway Museum - Port Adelaide - Shunt with 515 (cd_p1020951)
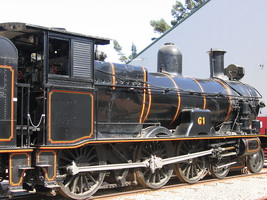
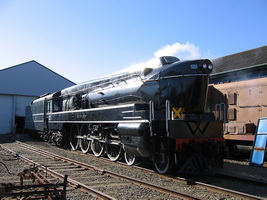
National Railway Museum - Port Adelaide - Locomotive G1 (cd_p1020962)
National Railway Museum - Port Adelaide - Locomotive G1 (cd_p1020963)
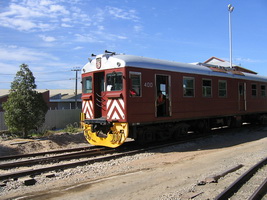
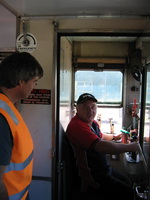
National Railway Museum - Port Adelaide - Behind the scenes weekend - Red Hen 400 (cd_p1021592)
National Railway Museum - Port Adelaide - Behind the scenes weekend - Red Hen 321 (cd_p1021593)
National Railway Museum - Port Adelaide - Behind the scenes weekend - Red Hen 400 (cd_p1021594)
National Railway Museum - Port Adelaide - Behind the scenes weekend - Red Hen 321 Interior (cd_p1021595)
National Railway Museum - Port Adelaide - Behind the scenes weekend - Red Hen 321 Interior (cd_p1021596)
National Railway Museum - Port Adelaide - Behind the scenes weekend - Red Hen 321 Interior (cd_p1021597)
National Railway Museum - Port Adelaide - Behind the scenes weekend - Red Hen 321 Interior (cd_p1021598)
National Railway Museum - Port Adelaide - Behind the scenes weekend - Red Hen 321 Interior (cd_p1021599)
National Railway Museum - Port Adelaide - Behind the scenes weekend - Red Hen 321 Interior (cd_p1021600)
National Railway Museum - Port Adelaide - Behind the scenes weekend - Red Hen 321 Interior (cd_p1021605)
National Railway Museum - Port Adelaide - Behind the scenes weekend - Red Hen 400 Interior (cd_p1021606)
National Railway Museum - Port Adelaide - Behind the scenes weekend - Red Hens 400 + 321 (cd_p1021609)
National Railway Museum - Port Adelaide - Behind the scenes weekend - Red Hens 400 + 321 (cd_p1021610)
National Railway Museum - Port Adelaide - Behind the scenes weekend - Red Hens 400 + 321 (cd_p1021611)
National Railway Museum - Port Adelaide - Behind the scenes weekend - Red Hens 321 + 400 (cd_p1021613)
National Railway Museum - Port Adelaide - Behind the scenes weekend - Red Hens 400 (cd_p1021615)
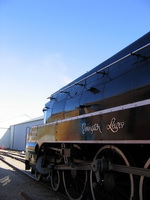
National Railway Museum - Port Adelaide - Behind the scenes weekend - 523 Essington Lewis (cd_p1021616)
National Railway Museum - Port Adelaide - Behind the scenes weekend - 523 Essington Lewis (cd_p1021619)
National Railway Museum - Port Adelaide - Behind the scenes weekend - 523 Essington Lewis (cd_p1021620)
National Railway Museum - Port Adelaide - Behind the scenes weekend - 523 Essington Lewis (cd_p1021621)
National Railway Museum - Port Adelaide - Behind the scenes weekend - Red Hen 321 (cd_p1021626)
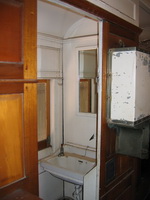
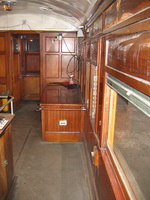
National Railway Museum - Port Adelaide - Interior
Onkaparinga
(cd_p1021629)
National Railway Museum - Port Adelaide - Interior
Onkaparinga
(cd_p1021630)
National Railway Museum - Port Adelaide - Interior
Onkaparinga
(cd_p1021631)
National Railway Museum - Port Adelaide - Interior
Onkaparinga
(cd_p1021632)
National Railway Museum - Port Adelaide - Interior
Onkaparinga
(cd_p1021633)
National Railway Museum - Port Adelaide - Interior
Onkaparinga
(cd_p1021634)
National Railway Museum - Port Adelaide - Interior
Onkaparinga
(cd_p1021635)
National Railway Museum - Port Adelaide - Interior
Onkaparinga
(cd_p1021636)
National Railway Museum - Port Adelaide - Interior
Onkaparinga
(cd_p1021637)
National Railway Museum - Port Adelaide - Interior BE42 (cd_p1021638)
National Railway Museum - Port Adelaide - Interior BE42 (cd_p1021639)
National Railway Museum - Port Adelaide - Interior BE42 (cd_p1021640)
National Railway Museum - Port Adelaide - Interior BE42 (cd_p1021641)
National Railway Museum - Port Adelaide - Interior BE42 (cd_p1021642)
National Railway Museum - Port Adelaide - Interior BE42 (cd_p1021643)
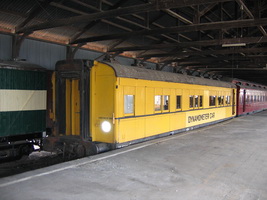
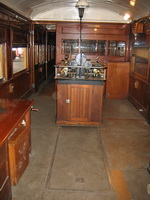
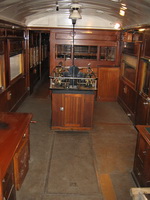
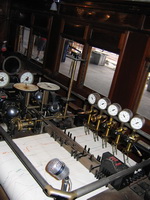
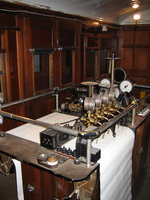
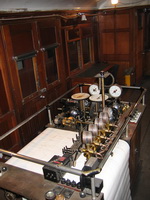
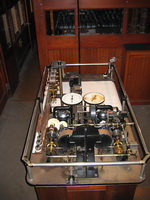
National Railway Museum - Port Adelaide - Interior
Dynamometer
car (cd_p1021647)
National Railway Museum - Port Adelaide - Interior
Dynamometer
car (cd_p1021648)
National Railway Museum - Port Adelaide - Interior
Dynamometer
car (cd_p1021649)
National Railway Museum - Port Adelaide - Interior
Dynamometer
car (cd_p1021650)
National Railway Museum - Port Adelaide - Interior
Dynamometer
car (cd_p1021651)
National Railway Museum - Port Adelaide - Interior
Dynamometer
car (cd_p1021652)
National Railway Museum - Port Adelaide - Interior
Dynamometer
car (cd_p1021653)
National Railway Museum - Port Adelaide - Interior
Dynamometer
car (cd_p1021654)
National Railway Museum - Port Adelaide - Interior
Dynamometer
car (cd_p1021655)
National Railway Museum - Port Adelaide - Interior
Dynamometer
car (cd_p1021657)
National Railway Museum - Port Adelaide - Interior
Dynamometer
car (cd_p1021658)
National Railway Museum - Port Adelaide - Interior
Dynamometer
car (cd_p1021659)
National Railway Museum - Port Adelaide - Interior
Dynamometer
car (cd_p1021660)
National Railway Museum - Port Adelaide - Interior
Dynamometer
car (cd_p1021661)
National Railway Museum - Port Adelaide - Interior
Dynamometer
car (cd_p1021662)
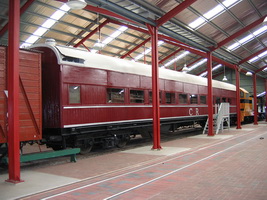
Side view of AR 33 in the main pavilion after track next to it emptied of rollingstock (cd_p1021895)
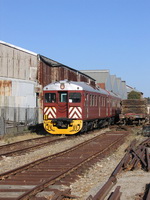
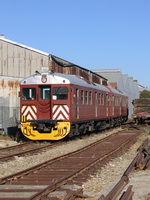
National Railway Museum - Port Adelaide - Thomas the Tank Engine and Friends - Red Hen 321 (cd_p1023376)
National Railway Museum - Port Adelaide - Thomas the Tank Engine and Friends - Red Hen 321 + 875 + 400 (cd_p1023377)
National Railway Museum - Port Adelaide - Thomas the Tank Engine and Friends - Red Hen 321 + 875 (cd_p1023378)
National Railway Museum - Port Adelaide - Thomas the Tank Engine and Friends - Red Hen 321 + 875 + 400 (cd_p1023379)
National Railway Museum - Port Adelaide - Thomas the Tank Engine and Friends - Red Hen 321 + 875 + 400 (cd_p1023380)
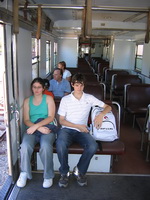
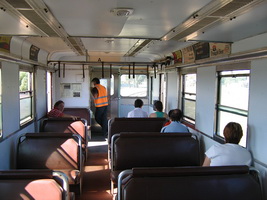
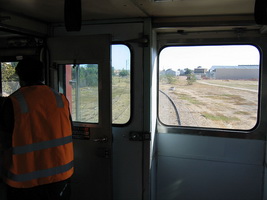
National Railway Museum - Port Adelaide - Thomas the Tank Engine and Friends - Red Hen 321 interior (cd_p1023407)
National Railway Museum - Port Adelaide - Thomas the Tank Engine and Friends - Red Hen 321 interior (cd_p1023408)
National Railway Museum - Port Adelaide - Thomas the Tank Engine and Friends - Red Hen 321 interior (cd_p1023412)
National Railway Museum - Port Adelaide - Thomas the Tank Engine and Friends - Red Hen 321 interior (cd_p1023413)
< Previous
1
2
3
4
5
6
7
8
9
10
11
12
13
14
15
16
17
18
Next >
Return to "Chris Drymalik - Digital Camera" Index
Home Page
Whats New
Links
References
Author Info
Check Letter Calculation
Privacy Information
Comrails Printable PDFs
Source Code
Route/Track Information
Glossary
ARTC Rolling Stock
CR Locos
Narrow Steam
Narrow Diesel
Standard Steam
Standard Diesel
Classification Steam
Classification Diesel
Named Locos
Railcars
Miscellaneous Vehicles
Loco Classification
SAR Locos
Narrow Steam
Broad Steam
Diesel
Classification Steam
Classification Diesel
Named Locos
Railcars
AN Passenger
Broad Gauge
Narrow Gauge
Standard Gauge
Classification
Type
Named carriages
Brake vans and Non-revenue
Overland cariages
Diesel railcars
Contracts
Consists & Refurbishments
CR Passenger
Narrow Gauge
Standard Gauge
Classification
Type
Named carriages
Brake vans
Construction Train
Railcars
Contracts
Rollingstock Classification
Consists & Refurbishments
SAR Passenger
Named V&SAR cars
V&SAR Joint Stock
SAR&CR Joint Stock
Pullman cars
Steel Bodied cars
Wooden cars
"D" type cars
Narrow Gauge cars
Trailer cars
Diesel Railcars
Allocation Numbers
VR "E" cars
Private named cars
GSR/JBRE Passenger
Road Number
Classification
Type
Named carriages
Freight
Narrow Gauge
Standard Gauge
Broad Gauge
Classification
Rollingstock Classification
Ungrouped
Vehicles by Intended Use
AN TIMS Info
Group Information
Alpha Index
Numeric Index
Details Index
Route Information
Readme
Library
Timetables
Handbooks, Manuals and Documents
Miscellaneous Publications
Computer Code
Photographs/Plans
Photos by Author/Collection
Photo Key Word In Context
Photo Submission/Readme
Plans of Rolling Stock
Plan by Class
Master Indexes
Vehicles by Classification
Vehicle Numeric List
List of Locations
Page code
Copyright
©
Chris Drymalik
1998-2024 - Email
chris.drymalik@gmail.com
, or
chris@comrails.com
This work is licenced under the
Creative Commons Attribution-Non-Commercial-Share Alike 2.5 Australia License
.
This page was last updated on Friday 19 Apr 2024 at 12:44am.